I love winter. (Do you?) I love how the cold and dark outside contrast with the golden glow of candles and a fire in the fireplace inside.
I love the cold, crisp air when I take my beagle, Molly, outside for her evening potty break. I love how we snuggle under warm crocheted blankets on the couch once we’re back inside.
Winter is a balance of beautiful, stark, coldness and warm, cozy handmade-ness.
Every year, around this time, I feel like retreating, pulling myself into my interior world, reading a little more, knitting a little more, resting and dreaming a little more.
Winter was made for introverts and homebodies. Even if you are solar-powered and miss the sun, there are still small moments of beauty and coziness to love about the cold season.
Winter is also made for making things. It’s a time of retreat. A time for small pleasures. A time for quiet. When we can quiet all the messages and news and turmoil of the outside world and tune into our own inner compass.
I believe that making things by hand—whether it’s knitting, crocheting, or general crafting—creates for us a small pocket of wellness and joy, which, in turn, fuels our ability to make a difference in our in-person communities. Making something by hand can be inner fuel and can help replenish us after the -isms of the world try and diminish our humanity.
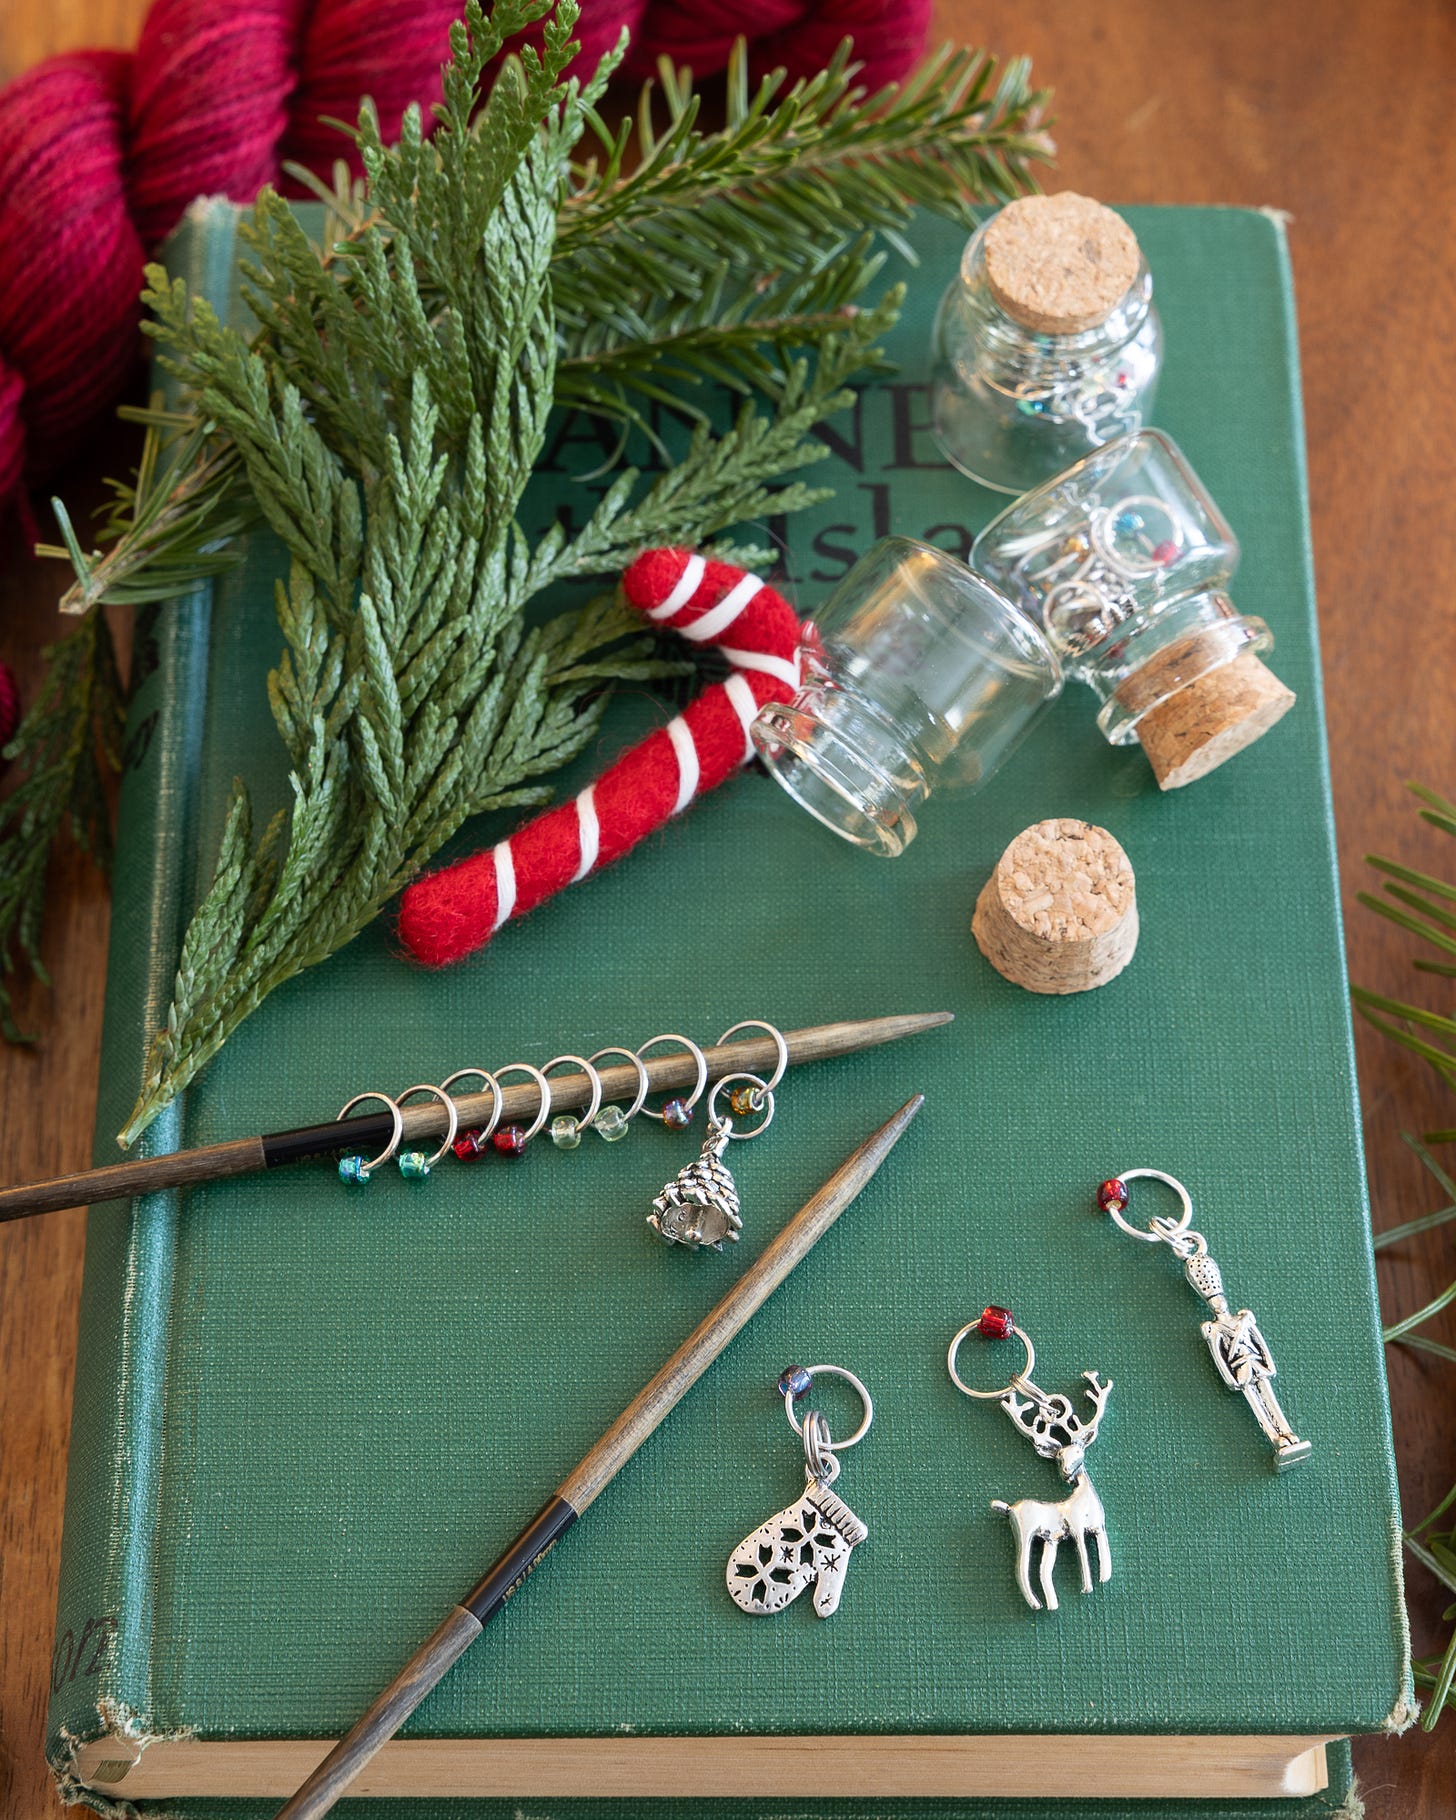
In this spirit, I have a small gift for you today: instructions on how to make your own stitch markers.
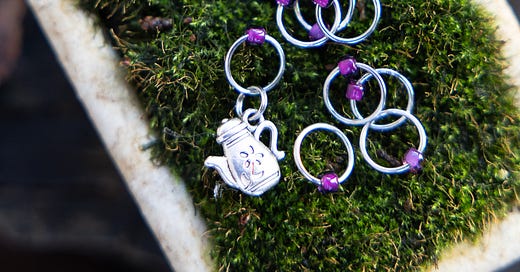
These are my favorite type of stitch markers, and I’ve made thousands of them over the years. They were the very first knitting notion I ever learned to make and are still a staple of my knitting kits. Making a tray of beaded ring stitch markers is a quiet, happy, meditative activity for me. When I’m done, the rows of gleaming beaded rings are sparkly and satisfying!
When I first started making stitch markers, I tested dozens of glues, bead types, and techniques, and following is the process and materials that have been most reliable for me. But, know this: experimenting is part of being a maker! You may find that a different glue or different type of bead works better in your climate. Start with my process, and use it as a jumping off point for your own.
Winter is for making.
I hope you are able to take some time today to make something, to find a moment of calm, and to attune to your own North Star. Let your soft animal body love what it loves, as poet Mary Oliver advises. Sending a special hug to all of you who are blue dots in red states. It’s hard out there. Take extra good care.
How to make beaded ring stitch markers
Materials
Open metal jump rings, size 10mm. I prefer nickel-free, base metal, silver finish, which won’t tarnish over time. My preferred supplier for glue, tools, jump rings and split rings is Fire Mountain Gems.
Seed beads, size 8/0. Seed beads can be purchased in many different places, including Fire Mountain. I recommend using Japanese seed beads because they are more uniform in shape and the hole is generally a bit larger (which can be helpful in the glueing process).
Charm(s), generally no larger than 25mm x 25mm. My favorite charm supplier is Bohemian Findings.
Box of tissues
Tools
Round nose jewelry pliers
Split ring jewelry pliers
Bead tray (my favorite is the BeadSmith with a spongy bead mat)
Safety precautions
Always work in a well-ventilated area.
Read the safety data sheet for GS Hypo-Cement for further safety advice.
You may wish to wear latex or nitrile gloves while glueing.
Let’s get started!
If some of your stitch markers will have a charm (such as, for a beginning-of-the-round marker), open a split ring with the split ring jewelry pliers and insert the top of the charm through the open edge. Slide it along until it’s fully encased.
Using jewelry pliers, open the jump ring about 1/8th of an inch. Slide the split ring and charm onto the jump ring, and then slide a bead onto the ring. Using jewelry pliers, close the jump ring and position the two open ends as close to one another as possible. Think of the jump ring like a hinge: move the two ends away from each other just slightly in opposite directions, then move them back together. I like to prepare all of my beaded rings before glueing them. This way, I can work quickly before the glue dries out or becomes gloppy.
Open the tube of glue and put a tiny dab exactly at the open spot where the two ends of the jump ring meet, and slide the bead on top of the glue and join. Rotate it 180 degrees, so that the glue coats the entire inside of the bead hole. The glue will quickly start to flow out of the jewelry tube point, so try to work quickly. Use a tissue to wipe away any glue that starts to pool at the tube opening.
Place the glued ring on your mat. Do not move it.
Repeat steps 1-4 until you’ve created all the stitch markers you want to make in this session.
Put your tray with the glued markers in a dry, slightly cool spot, away from children or pets. I have a tall shelf in my garage that works well for me. Leave your markers untouched for 24 to 48 hours, so the glue can fully cure.
Test your markers by holding the bead between your fingers and very gently twist it. If there is any give, you either did not use enough glue, or the glue did not fully cure. If this happens, twist until the bead is fully loose, use a toothpick to scrape off any glue, and re-glue and re-cure it.
And now you, too, can make your own stitch markers!


This is so exciting. Thanks for sharing Annie!!!
This sounds like the perfect make for a dark winters day. Just need to find a few rings, think I have the rest of the things needed...🙈